Cocktails & Contour: Your Friday Night Glow-Up
Friday: Cocktails & Contour – It’s time to sharpen those features! A fun guide to using bronzer and illuminator to catch the light at every angle, from the first round of drinks to the last dance. 🍸✨
It's 5 PM on a Friday. You've crushed your week, your inbox is finally under control, and you've got plans that involve something way more fun than conference calls. There's just one problem: your makeup has been sitting on your face since 7 AM, and "office appropriate" isn't exactly giving "Friday night energy."
Here's the thing, transitioning your look from boardroom to happy hour doesn't require a complete do-over. With the right techniques and a strategic approach to bronzer and illuminator, you can go from "professional" to "let's get this party started" in about 10 minutes flat.
Our makeup artists have perfected the art of the Friday glow-up, and we're breaking down exactly how to add dimension, warmth, and that luminous finish that photographs like a dream (because yes, there will be photos).
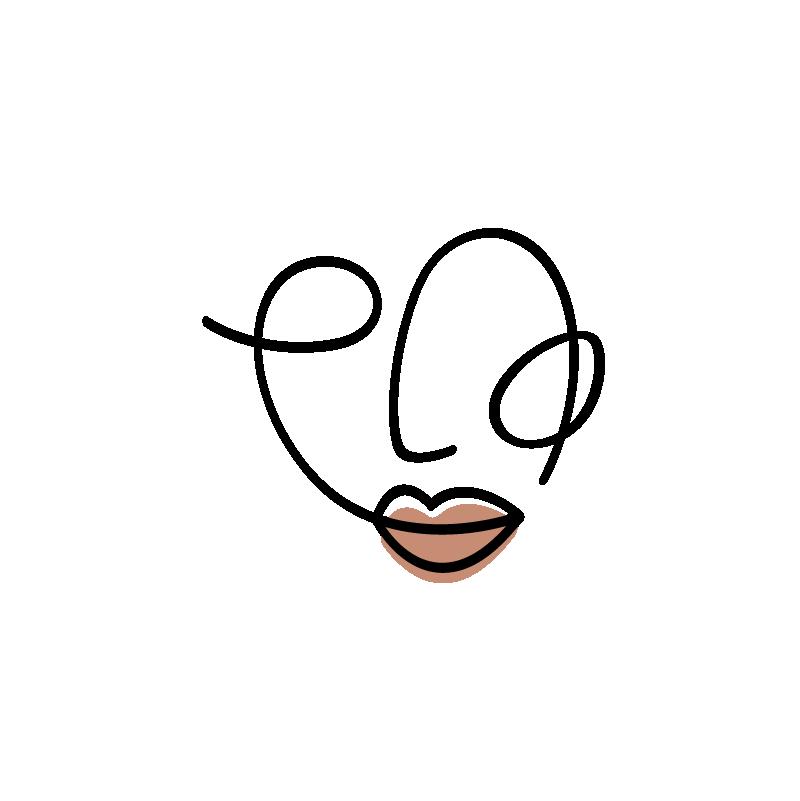
Why Contouring Is Your Friday Night Secret Weapon
Contouring can feel intimidating, but here's the truth: it's just strategic shadowing. By the end of a long workday, your face naturally loses some of its definition. Makeup settles, oils break down your base, and let's be real, you look a little flat.
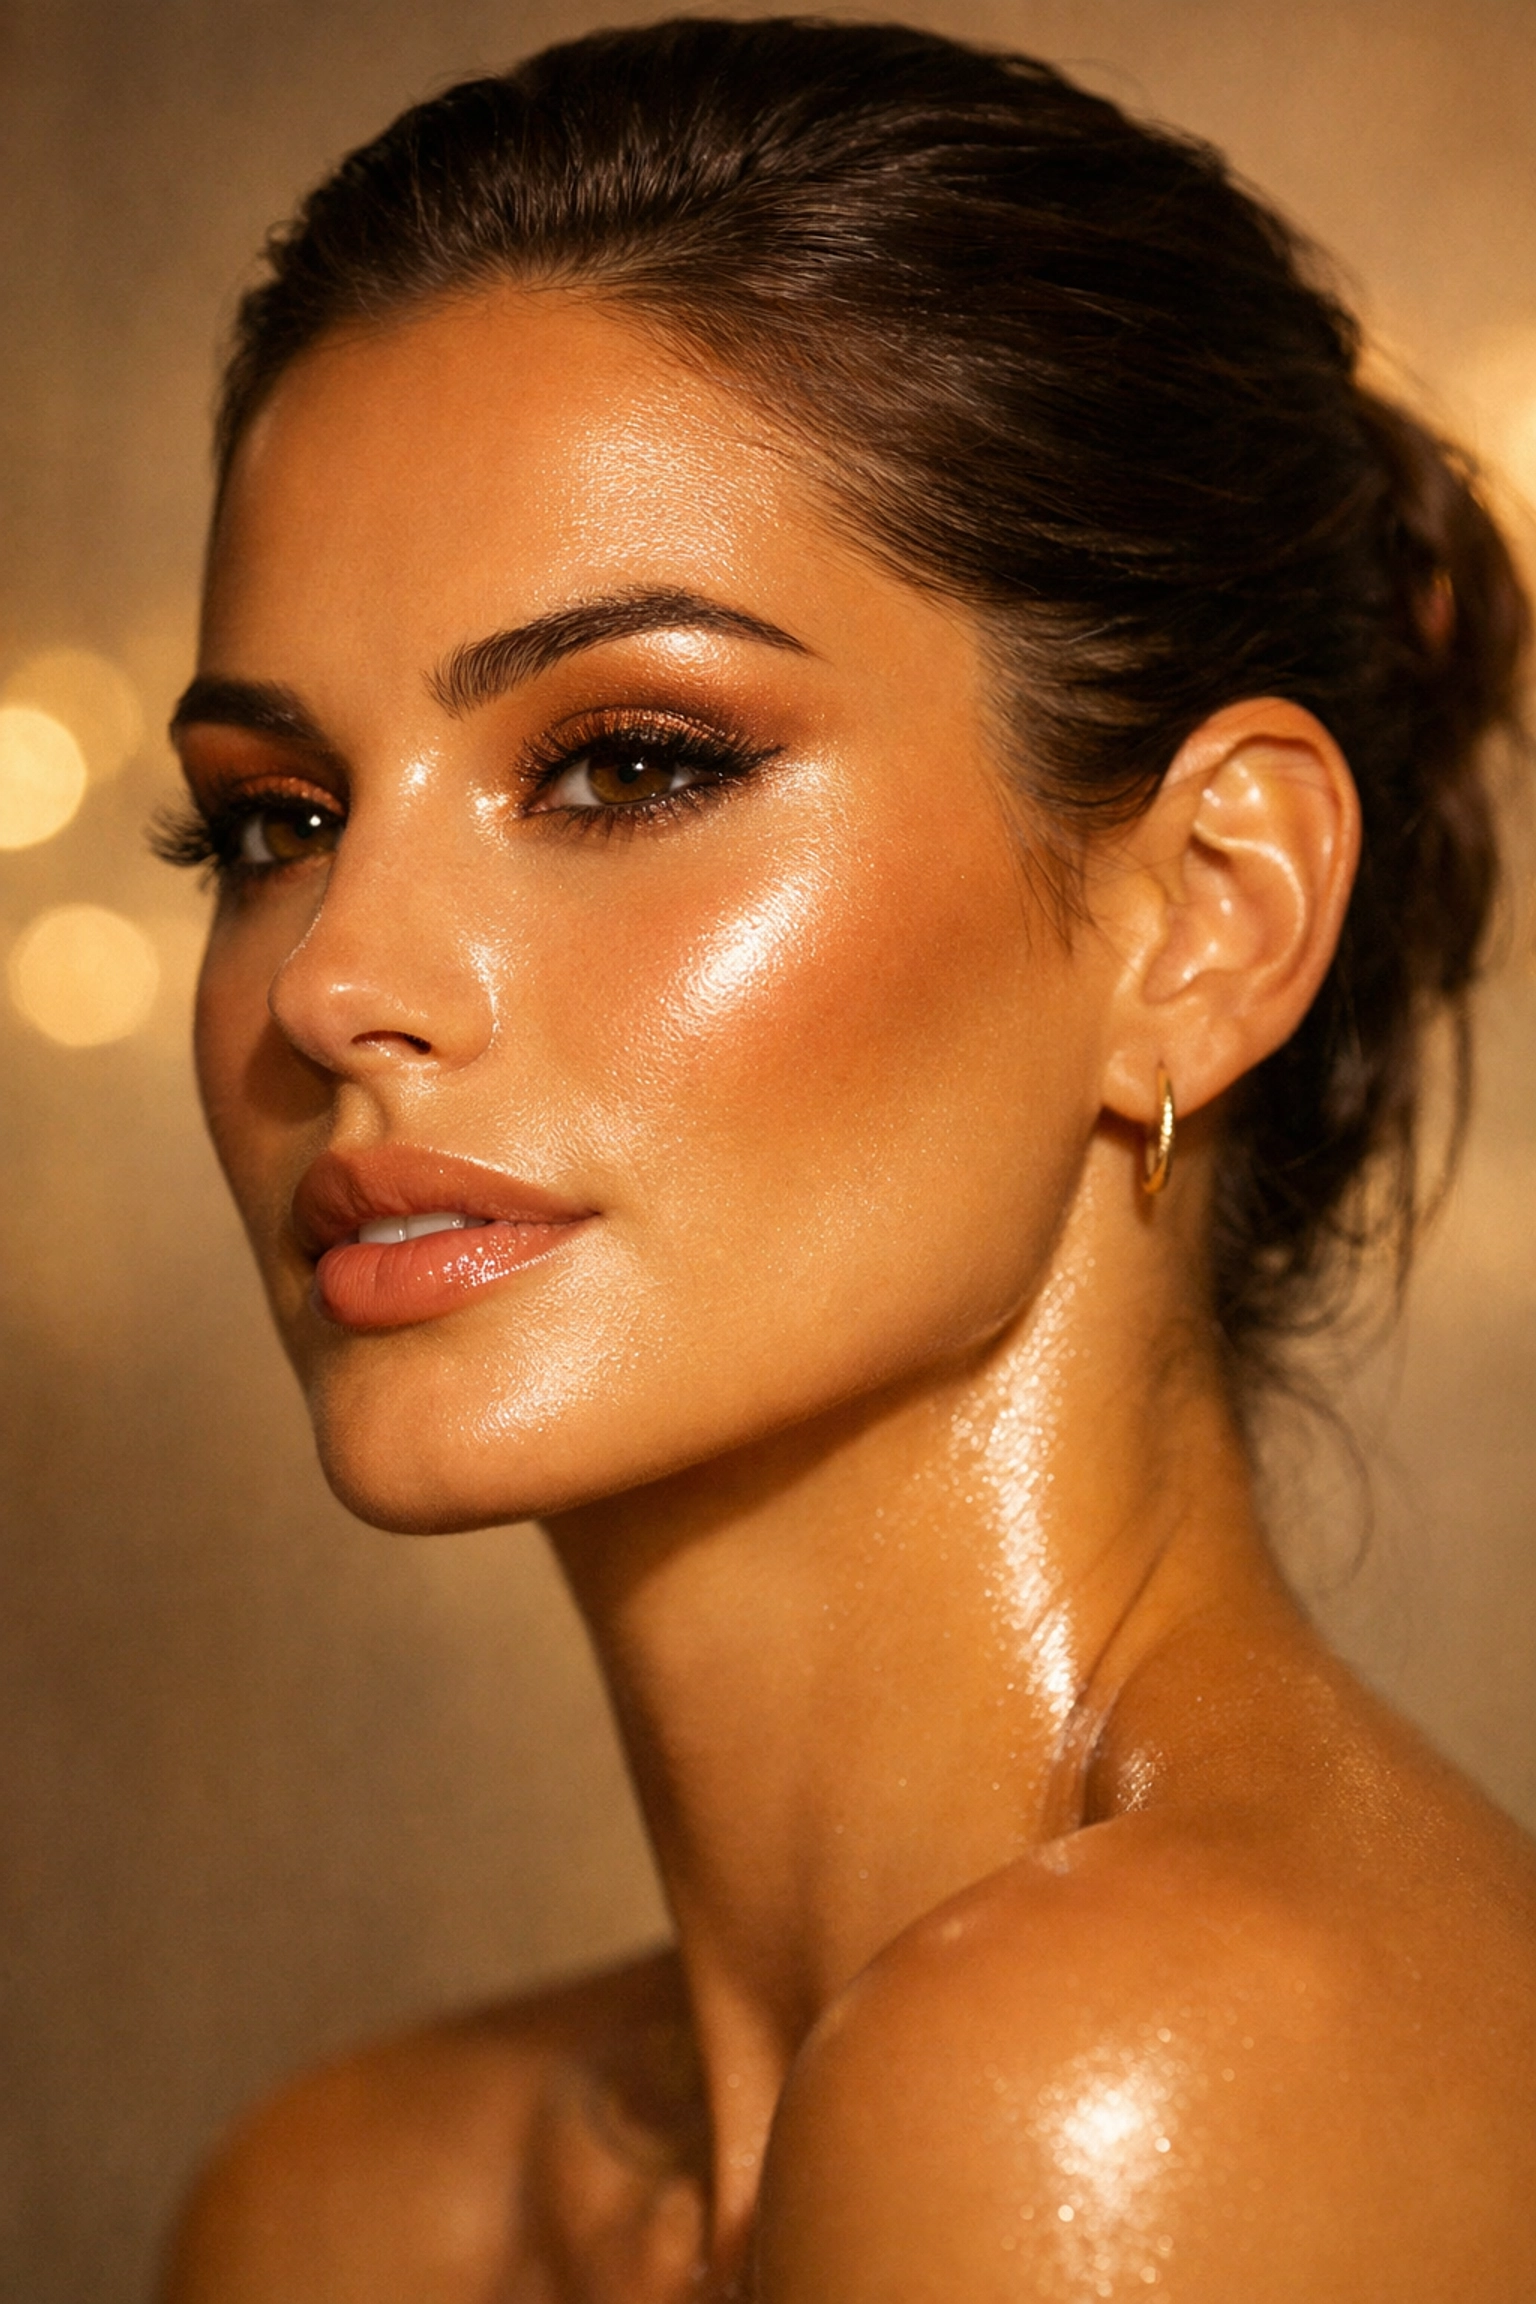
That's where bronzer comes in. A warm, buildable bronzer brings back the structure and dimension that's faded throughout the day. It mimics natural shadows, making your features look more sculpted and awake.
The key is placement. We always focus on the areas where shadows naturally fall: the hollows of your cheeks, along your hairline, and under your jawline.
Step 1: Refresh Your Base (But Don't Start Over)
Before you add anything new, assess what's already there. If your foundation has gotten patchy or separated, don't wipe it all off, just target the problem areas.
Use a hydrating mist or a damp beauty sponge to gently press and blend any uneven spots. This reactivates your base without disturbing the areas that still look good.
If you need a little extra coverage in your T-zone or around your nose, tap in a bit of BB Cream with your finger. It blends seamlessly into existing makeup and adds a fresh, dewy finish.
Once your base is smooth again, you're ready to build.
Step 2: Map Your Contour Like a Pro
Grab your bronzer. Our makeup gurus swear by a matte or satin-finish formula, nothing with visible shimmer or glitter. You want definition, not disco.
Here's where to apply:
The Hollows of Your Cheeks: Suck in your cheeks slightly (yes, like a fish face). See that natural hollow? That's your target zone. Using a fluffy angled brush, sweep bronzer from the top of your ear down toward the corner of your mouth. Stop before you actually reach your mouth: you're creating a shadow, not a stripe.
Along Your Hairline: Lightly dust bronzer along your hairline and temples. This warms up your complexion and creates a sun-kissed effect that screams "I just got back from somewhere fabulous" (even if you've been in meetings all day).
Under Your Jawline: This is the step that changes everything. Blend a light amount of bronzer just under your jawline and down onto your neck. This eliminates any harsh lines and makes your face look naturally sculpted rather than painted on.
Always start with less product than you think you need. Bronzer is incredibly buildable, but it's way easier to add more than to remove excess.
Step 3: Bring in the Light
Now for the magic: illuminator. If bronzer creates depth, illuminator creates dimension by catching the light. Together, they give you that coveted "glowing from within" look that every Friday night deserves.
Here's where to place your illuminator for maximum impact:
The High Points of Your Cheekbones: Right above where you applied your bronzer, sweep illuminator across the tops of your cheekbones. Use your fingers or a small fan brush for precision. The contrast between the shadow below and the light above creates instant lift.
Down the Bridge of Your Nose: A light stroke of illuminator down the center of your nose makes it appear straighter and more refined. If you have a wider nose and want to slim it visually, keep the highlight very narrow and precise.
Your Cupid's Bow: That little dip above your upper lip? Dab a tiny bit of illuminator there. It makes your lips look fuller and draws attention to your smile.
Your Brow Bone: Just underneath the arch of your brow, add a touch of highlight. This lifts your entire eye area and makes you look more awake: crucial after a long week.
The Inner Corners of Your Eyes: This is the trick that makeup artists use to make eyes look bigger and brighter. A small dot of illuminator in each inner corner opens up your entire face.
We're obsessed with liquid illuminators for this step because they blend seamlessly and create that dewy, natural glow. If you prefer powder, that works too: just make sure to tap off any excess before applying.
Step 4: Blend Like Your Life Depends On It
Here's where most people go wrong: they apply their bronzer and illuminator in the right places, then stop. But blending is what transforms individual products into a cohesive, professional-looking glow.
Use a clean, fluffy brush (or a damp beauty sponge) to gently buff the edges of your bronzer. You never want to see where it starts and stops: it should fade seamlessly into your skin.
For your illuminator, use your fingertips to tap and press the product into your skin rather than swiping. This gives you a more natural, lit-from-within finish instead of obvious streaks of shimmer.
If you've gone a bit heavy-handed with either product, don't panic. Lightly dust a translucent powder over the area, or press in a tiny bit of your foundation to diffuse the intensity.
Step 5: Add Warmth to Your Eyes and Lips
Your face is glowing, but don't stop there. To complete the Friday night transformation, warm up your eyes and lips to match your newly bronzed and highlighted complexion.
For eyes, a quick sweep of warm bronze or copper eyeshadow across your lids ties everything together. You can also deepen your crease with a slightly darker shade if you're feeling bold.
For lips, skip the corporate nude and go for something with more personality. A warm terracotta, a rich berry, or even a bold red complements a bronzed face beautifully. Check out our lipstick collection for shades that transition perfectly from day to night.
 The Touch-Up Kit: What to Keep in Your Desk Drawer
If you know you're going straight from the office to your Friday plans, we always recommend keeping a mini touch-up kit at your desk. Here's what should be in it:
- A travel-size bronzer (or your go-to bronzer: you'll use it often enough)
- A small illuminator (liquid or powder, your preference)
- A fluffy brush for blending
- A beauty sponge for any base touch-ups
- A hydrating mist to refresh your skin
- Your favorite Full Cover Lipsticks for that final pop
Having these essentials on hand means you can transform your look in the office bathroom without hauling your entire makeup collection back and forth.
The Psychology of the Friday Glow
There's something powerful about taking five extra minutes to enhance your look before heading into your weekend. It's a small act of self-care that signals to yourself: the work week is over, and it's time to have fun.
A glowing, sculpted face doesn't just look good in photos: it makes you feel confident. And confidence is the best accessory you can wear to any Friday night event, whether you're meeting friends for drinks, going on a date, or just treating yourself to dinner out.
That warmth you've added to your cheeks with bronzer? It makes you look approachable and happy. That strategic highlight catching the light? It draws people in and makes them want to be near your energy.
Pro Tips From Our Makeup Artists
Always apply bronzer and illuminator in natural light if possible. Artificial office lighting can make you go too heavy or miss spots entirely.
If you're short on time, focus on just the cheekbones. Bronzer in the hollows and illuminator on top creates instant dimension even if you skip the other areas.
Don't match your bronzer to your foundation shade. Go 2-3 shades deeper for a natural contour effect.
Layer cream illuminator under powder illuminator for an insanely intense glow that lasts all night.
Set your bronzer with a light dusting of translucent powder if you have oily skin or know you'll be out for hours.
Your Friday Night Starts Now
The beauty of the cocktails and contour approach is that it works for any Friday plan. Whether you're keeping it low-key or going all out, a bronzed, glowing face elevates your entire vibe.
You've earned this moment. You've worked hard all week, and now it's time to let your face reflect the confident, powerful person you are: with just enough warmth and shimmer to remind everyone (including yourself) that you're here to have a good time.
So grab your bronzer, perfect that placement, add your glow, and get ready to own your Friday night. The cocktails can wait: but your glow-up can't. ✨


