"Undone" Liner 101: Mastering the Editorial Look
We get it. The search for the "perfect" winged liner can feel like a high-stakes geometry exam you didn't study for. We’ve all been there, hunched over a mirror with a Q-tip, trying to match the left side to the right until we eventually give up and wash it all off.
At V Kosmetik, our founder Vickie Joseph always says that beauty shouldn't be a source of stress. It should be an empowerment tool. That’s why we are obsessed with the "undone" liner look: the cool-girl, editorial aesthetic that looks like you just woke up looking effortlessly chic.
It can be a process to unlearn the "perfect" wing, and you might feel a little lost at first. But trust us, once you master this lived-in look, you’ll never go back to sharp, harsh lines again. It’s about high-performance pigments, soft textures, and a minimalist vibe that screams "I tried, but not too hard."
The Philosophy of the Undone Look
The editorial look isn’t about being messy; it’s about being intentional. It’s the difference between a smudge that looks like a mistake and a smudge that looks like a million dollars.
We always focus on high-quality, cruelty-free products that allow for movement. In the editorial world, we want to see natural skin textures and eyes that look lived-in rather than painted on. This approach highlights your natural eye shape while giving you that "OOMF!" factor.
If you’ve been struggling with shaky hands, this is your new best friend. Because the look is meant to be diffused, there is no such thing as a "mistake": only more blending.
Step 1: Prep the Canvas for Longevity
We never apply liner to a "naked" lid if we want it to last through a long day. Even for an undone look, your base matters because it prevents your oils from turning "editorial" into "raccoon."
Start by neutralizing the eyelid with a tiny bit of concealer or a matte shadow from our collections. This creates a velvet-smooth surface that helps the pigment grip without dragging.
We recommend using a shade that matches your skin tone perfectly. This ensures that the focus remains entirely on the liner placement later on. It’s the "secret" step that keeps your makeup looking professional rather than amateur.
Step 2: Choose Your Weapon
For an editorial look, we always reach for a soft pencil or a high-pigment eyeshadow rather than a liquid liner. Liquid is too precise and too permanent for what we are trying to achieve here.
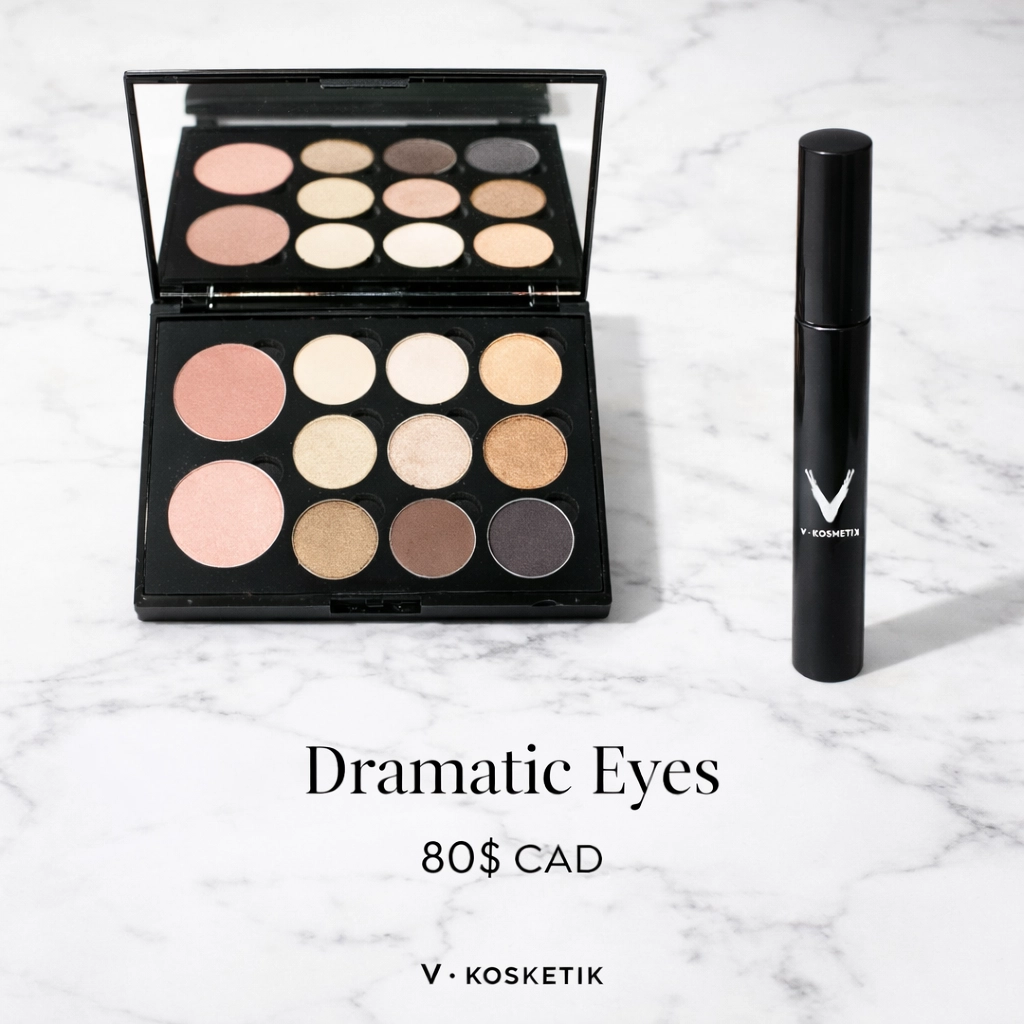
The V Kosmetik Dramatic Eyes set is perfect for this because the shadows are buttery and incredibly easy to blend. You want a product that gives you a few seconds of "playtime" before it sets.
If you’re having difficulty using a pencil, you can also use a small, angled brush dipped in a dark shadow. This gives you way more control and a softer finish right from the start.
Step 3: The "Rough" Draft Line
Now, take your liner or dark shadow and get close to the lash line. Don't worry about making it a straight line: remember, we are going to smudge this anyway.
Always start from the outer corner and work your way inward. This helps you control the amount of pigment that lands on the most visible part of your eye. Stop about three-quarters of the way in toward your tear duct to keep the eye looking open and fresh.
If you go a little too thick, don't panic. This look thrives on a bit of bulk at the base of the lashes. It’s all about creating a shadow rather than a stripe.
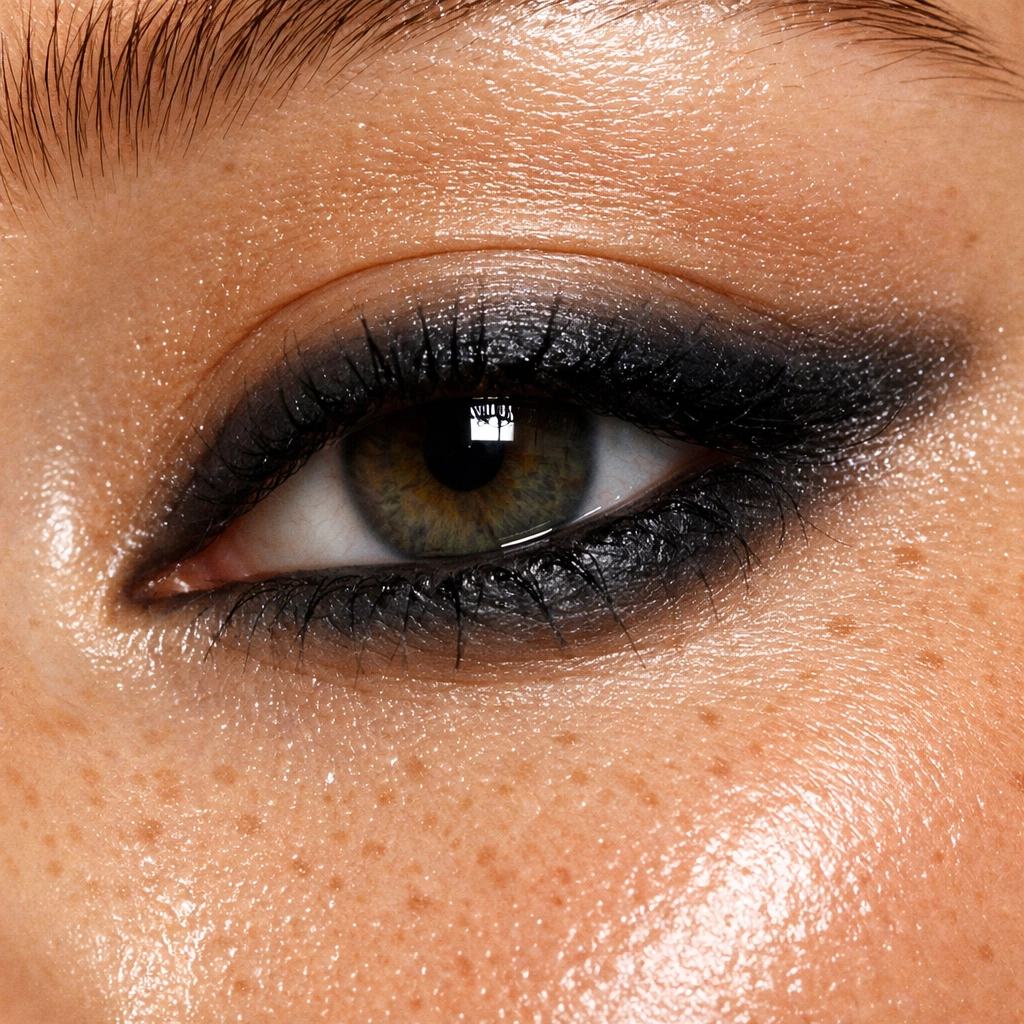
Step 4: The Editorial Smudge
This is where the magic happens. We call this the "editorial secret." Take a small, dense blending brush or even your ring finger and gently wiggle it over the line you just drew.
Move the brush in tiny circular motions to pull the pigment upward and outward. You want the edge of the line to disappear into your skin. This creates a soft-focus effect that mimics the way light naturally hits your eyes.
We always recommend smudging outward toward the temple. This gives your face a natural lift without the harshness of a traditional "cat-eye." It’s sophisticated, modern, and incredibly flattering on every eye shape.
Step 5: Tightlining for Depth
To keep the look from looking too "floaty," we need to ground it. This is where tightlining comes in. We never skip this step because it makes your lashes look twice as thick.
Gently lift your upper lid and apply your liner directly into the root of your lashes. This fills in any gaps and ensures that your "undone" look still has a professional, high-performance edge.
If your eyes are sensitive, you can also achieve this by using a flat brush to "stamp" a dark shadow into the lash line. It’s a gentler alternative that yields the same high-impact result.
Step 6: Define the Lower Lash Line (Optional)
For a truly "editorial" vibe, we like to add a tiny bit of depth to the lower lash line. But be careful: we don't want a heavy line here.
Use the leftover pigment on your brush from the top lid and lightly sweep it under your bottom lashes. Focus only on the outer third of the eye. This balances the look and gives you that "model-off-duty" appearance.
If you want a more "awake" look, you can leave the bottom line completely clean. This is a great trick for daytime editorial looks where you want to appear minimalist and fresh.
Step 7: Frame with Brows and Lashes
An undone liner look needs a strong frame to shine. We recommend using the V Kosmetik Brow Definition Set to create full, natural brows that balance the soft-focus eyes.
Brush your brows upward to keep the look editorial and youthful. Then, finish with a coat of volumizing mascara. We always suggest focusing the mascara on the outer lashes to complement the diffused liner.
 Why Minimalist Doesn't Mean "Low Effort"
Mastering the editorial look is about understanding the balance between "done" and "undone." While it looks effortless, the use of high-quality products from V Kosmetik ensures that your makeup doesn't migrate or fade throughout the day.
We believe that every woman deserves to feel like she’s just stepped off a runway, even if she’s just heading to a coffee meeting. This look is about confidence and embracing a bit of imperfection.
- Always blend more than you think you need to.
- Never use a liquid liner for this specific aesthetic.
- Always keep the inner corners of your eyes bright.
Quick Reference Guide for Your Editorial Routine
- Prep: Use a matte base to prevent creasing.
- Draft: Lay down a soft, dark line at the lash base.
- Smudge: Blur the edges upward and outward.
- Tightline: Fill the gaps between lashes for depth.
- Finish: Frame the look with groomed brows and mascara.
If you're feeling adventurous, you can even swap the traditional black or brown for a deep plum or forest green shadow. This adds a subtle pop of color while maintaining the sophisticated, minimalist vibe.
Final Thoughts on Your Beauty Journey
At the end of the day, makeup is a form of self-expression. Whether you’re going for a sharp wing or this lived-in "undone" look, the goal is to feel empowered and beautiful.
We are here to provide the tools and the techniques, but the magic happens when you make the look your own. Don't be afraid to experiment and find what works for your unique face. We are all "Follement Belle" in our own way!
If you have questions or want to show off your new editorial look, feel free to contact us. We love seeing how our community uses V Kosmetik to redefine beauty standards every single day. Keep shining, and remember: the best look is the one that makes you feel like the best version of yourself.


