Blush Placement Secrets Revealed: 3 Looks, 1 Product (Face Shape Guide
Blush placement can feel like a mystery. One wrong swipe and you're either looking sunburned or like you skipped it entirely.
Here's the truth: you don't need a dozen blushes to create different looks. You need to understand where to place the one you already have.
We're breaking down three placement techniques that completely transform your face using the same product. Whether you want to look lifted, youthful, or editorial-ready, it all comes down to where that color lands.
The Three Placement Techniques You Need to Master
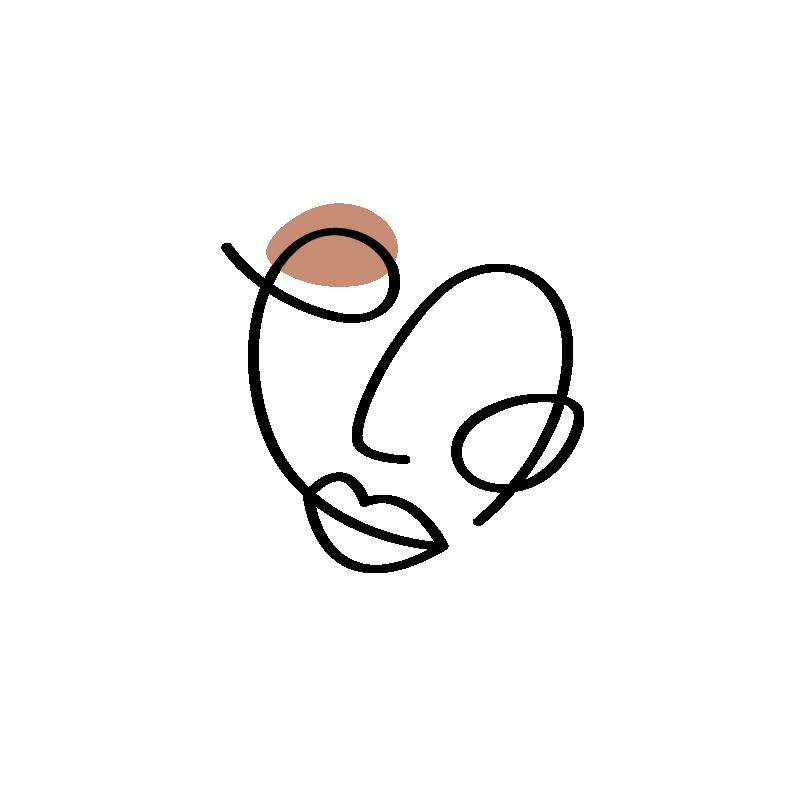
Look 1: The Lifted Sculpt
This is the power placement. The "I mean business but make it beautiful" placement.
Start at the highest point of your cheekbone: imagine drawing a line from the outer corner of your eye straight back toward your ear. That's your starting point.
Apply your blush along this invisible line, sweeping the color upward and outward toward your temples. Keep the application higher than you think you should. This creates an instant lifting effect that brings structure to your entire face.

Why this works: Placing color higher on the face draws the eye upward, creating the illusion of lifted cheekbones and a more sculpted appearance. This is the go-to for anyone wanting that chiseled, Mogul energy.
Best for: Round faces, anyone wanting more definition, professional settings where you want to look polished and powerful.
Pro tip: Use a matte or satin finish for this technique. Shimmer placed this high can sometimes emphasize texture, while a silky matte gives you that seamless, airbrushed finish.
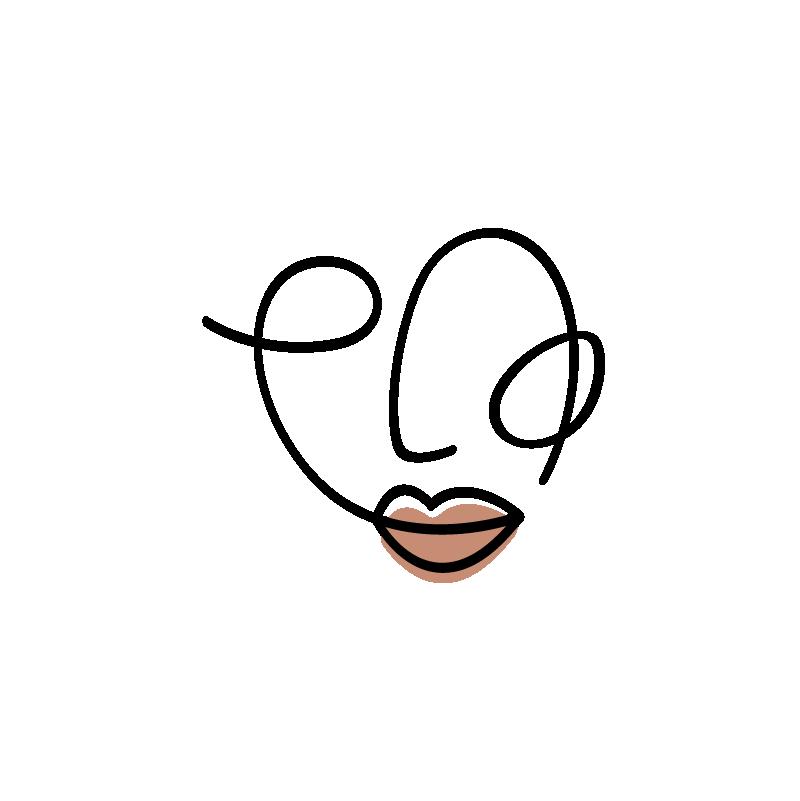
Look 2: The Classic Apple
This is your "I woke up like this" flush. Fresh, youthful, effortlessly pretty.
Smile naturally: not a forced grin, just a gentle smile. You'll see the apples of your cheeks pop up. That's exactly where your blush goes.
Apply the color directly to the rounded part of your cheeks using circular motions. Think of it like you're stamping the color onto your skin rather than sweeping it. Then, lightly blend outward toward your ears with a gentle motion.
Why this works: This mimics the natural flush you get from laughing, exercising, or being genuinely happy. It's biologically where color naturally appears on the face, which is why it looks so authentic.
Best for: Square faces that want to soften angular features, everyday looks, creating a warm and approachable vibe.
The key difference: Unlike the lifted sculpt which moves upward, this application moves horizontally. The color sits forward on your face rather than being swept back, which creates that pillowy, soft effect.

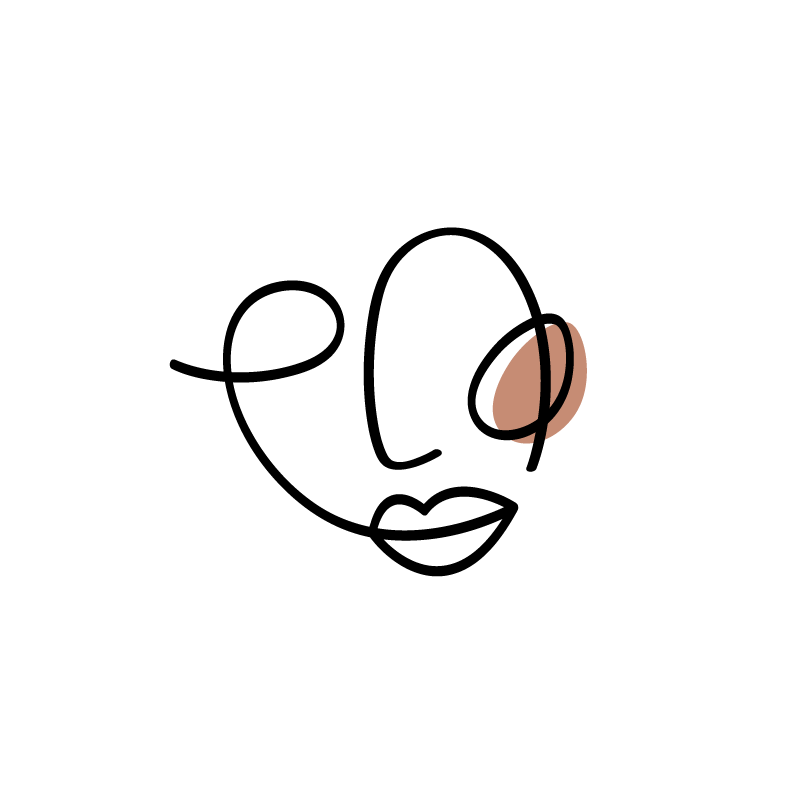
Look 3: The Sun-Kissed Drape
This is editorial territory. Think runway, photoshoot, "how is her bone structure that good?"
Start at the top of your cheekbone (similar starting point to the lifted sculpt), but instead of sweeping upward, you're going to drape the color diagonally down toward the center of your cheek. Imagine drawing a soft line from your temple down toward the corner of your mouth: but stopping at your cheekbone.
The color should create a diagonal stripe across the side of your face when you're done. Blend it seamlessly so there are no harsh lines, but maintain that diagonal direction.
Why this works: Draping was a technique created by legendary makeup artist Way Bandy in the '70s. It uses blush as both color and contour, elongating the face and creating dimension through strategic color placement rather than traditional bronzing.
Best for: Oval and heart-shaped faces, evening looks, anyone who wants that high-fashion aesthetic.
The game-changer: This technique works beautifully with highly pigmented formulas because you're using the blush to actually shape your face. You need that color payoff to create visible dimension.
Adapting These Techniques to Your Face Shape
Here's where it gets really good. Understanding your face shape means you can take these three techniques and customize them even further.
Round Faces
Stick with the Lifted Sculpt as your primary technique. This will always be your most flattering option because it creates the vertical lines that balance your face's natural roundness.
Avoid the Classic Apple placement: applying color to the fullest part of your cheeks will emphasize roundness rather than create definition.
Square Faces
The Classic Apple is your best friend. It softens those gorgeous angular features and draws attention to the center of your face rather than the jawline.
You can also try a modified version of the Sun-Kissed Drape, applying color along your hairline to further soften the edges of your face.

Oval Faces
Congratulations, you won the face shape lottery. All three techniques work beautifully for you.
Use the Lifted Sculpt when you want structure, the Classic Apple for a youthful vibe, and the Sun-Kissed Drape when you're feeling editorial. Your balanced proportions mean you can truly play with all the options.
Heart-Shaped Faces
Create a modified "C" shape with your blush, starting from the tops of your cheekbones and sweeping up toward the tail of your brows. Add a touch of color to your forehead to balance your proportions.
The Sun-Kissed Drape works particularly well for you because it draws attention to your beautiful cheekbones without over-emphasizing a narrow chin.
Diamond Faces
Your cheekbones are already your standout feature, so stamp color directly on the tops of them and blend outward toward your ears. This showcases your natural bone structure without adding width to the center of your face.
The Lifted Sculpt technique works beautifully for you: just keep the color concentrated on the high points rather than bringing it too far forward.
The Application Tools That Make or Break Your Placement
Let's talk about how you're actually getting that blush onto your face, because the tool matters just as much as the placement.
For the Lifted Sculpt: Use an angled blush brush. The angle helps you follow the natural line of your cheekbone and makes it easier to sweep color upward precisely.
For the Classic Apple: A fluffy, dome-shaped brush works best. You want something that deposits color softly and can be used in circular motions without creating harsh edges.
For the Sun-Kissed Drape: A smaller, more precise brush gives you control over that diagonal line. You can also use a beauty sponge to blend the edges once you've placed the initial color.
The universal rule: Always tap off excess product before applying. With a highly pigmented formula, a little goes a long way. You can always build up intensity, but removing too much color is a nightmare.
The Blending Technique That Changes Everything
Here's what separates amateur blush application from professional-looking results: the blend direction.
Your blending should always follow the same direction as your initial placement. If you applied blush upward toward your temples (Lifted Sculpt), blend upward. If you applied it in circular motions (Classic Apple), blend in circular motions.
Never blend straight down. This drags color into areas where you don't want it and muddles your entire placement strategy.
Start with a clean brush (or the opposite side of your beauty sponge) and use light, sweeping motions to diffuse any harsh edges. The goal is to make the blush look like it's coming from within your skin, not sitting on top of it.
Common Mistakes and How to Fix Them

Mistake 1: Placing blush too low on the face.
If your blush sits below your cheekbone, it can create a droopy, aged appearance. The fix is simple: always start higher than you think you should. Color should never go below the bottom of your nose.
Mistake 2: Using the same placement for every occasion.
Your face deserves variety. The Lifted Sculpt for work presentations, the Classic Apple for weekend brunch, the Sun-Kissed Drape for date night: switch it up based on the vibe you're going for.
Mistake 3: Forgetting to consider your undertones.
Cool undertones look incredible with pink and berry shades. Warm undertones glow with peach and coral. Neutral undertones can play with both families. Choose your shade wisely because placement technique can only do so much if the color itself doesn't harmonize with your skin.
Building Intensity Without Looking Overdone
Start with a light application: we're talking barely-there color. Step back from the mirror (this is crucial) and assess from a normal viewing distance.
Build gradually using small amounts of product each time. This is especially important with pigmented formulas that deliver serious color payoff.
If you accidentally go too heavy, don't panic. Take a clean beauty sponge or brush and buff out the edges. You can also press a small amount of translucent powder over the area to tone down intensity without completely removing the blush.
The Final Word on Placement
Blush placement isn't about following rigid rules. It's about understanding the principles and then customizing them for your unique face.
The same product can make you look powerful, youthful, or editorial depending on where you place it. That's the magic of understanding placement over just piling on products.
Master these three techniques and you'll never look at your blush the same way again. One product, infinite possibilities: that's the kind of versatility that belongs in every makeup routine.
Now go look in the mirror and figure out which placement makes you feel most like yourself. That's the one you should wear today.


