Sculpting with Light: The New Bone Structure
We’ve all been there: standing in front of the vanity, meticulously drawing dark stripes across our cheekbones and jawlines like we’re preparing for a theatrical performance. We remember 2016. It was the era of the "mask," where heavy, matte contouring was the only way to feel "done." But at V Kosmetik, we’re moving beyond the heavy-handed war paint of the past.
We believe that beauty should feel expensive, effortless, and entirely yours. The era of the dark, muddy contour is officially over. We are entering the age of the "Architectural Glow": a technique where we use light, not shadow, to reveal the bone structure you already possess.
This shift can be a process, especially if you’ve been conditioned to think that "shaping" requires darkness. You might feel lost without your deep bronzer sticks, but trust us: sculpting with light creates a dimension that looks like high-fashion editorial skin, even under the harshest office lights. It’s about being seen, not being covered.
The Art of the "Sculptor Among Painters"
To understand where we’re going, we have to look at the masters of light. At V Kosmetik, we often draw inspiration from the world of fine art. Take Eugène Carrière, the French Symbolist painter. He was famously known as the "sculptor among painters" because he didn't rely on sharp outlines or heavy lines to define his subjects.
Instead, Carrière used a delicate interplay of light and shadow to make faces materialize out of the canvas. He focused on the essential bone structure: the forehead, the bridge of the nose, the cheekbones: and let light do the heavy lifting. His work had an "aura," a sense of inner vitality that felt more real than a perfectly drawn portrait.
We are applying that same philosophy to your face. We are not drawing new features; we are using light to evoke the ones you have. This isn't about hiding; it’s about a silent, powerful statement of luxury.
Step 1: The Foundation of Light
The secret to an expensive-looking base starts long before you pick up a brush. We always say that light needs a smooth surface to bounce off of, or it will simply highlight texture you’d rather ignore. This is where we transition from "makeup" to "artistry."
Always start with a base that mimics the natural luminosity of healthy skin. If your skin feels flat or overly matte, your illuminator will look like it’s sitting on top of a mask rather than radiating from within. We recommend starting with a lightweight, hydrating layer to prep the canvas.
Think of your skin as a silk screen. You want the light to pass through and reflect back, creating that "lit from within" OOMF that everyone covets. Never skip the hydration phase; this eliminates the risk of your sculpt looking dry or "cakey" by mid-afternoon.
Step 2: Mapping the Architecture
When we talk about "sculpting with light," we are focusing on the areas where the sun: or the studio strobe: naturally hits. Instead of darkening the hollows of your cheeks, we are bringing the peaks forward.
We want you to focus on these four key architectural points:
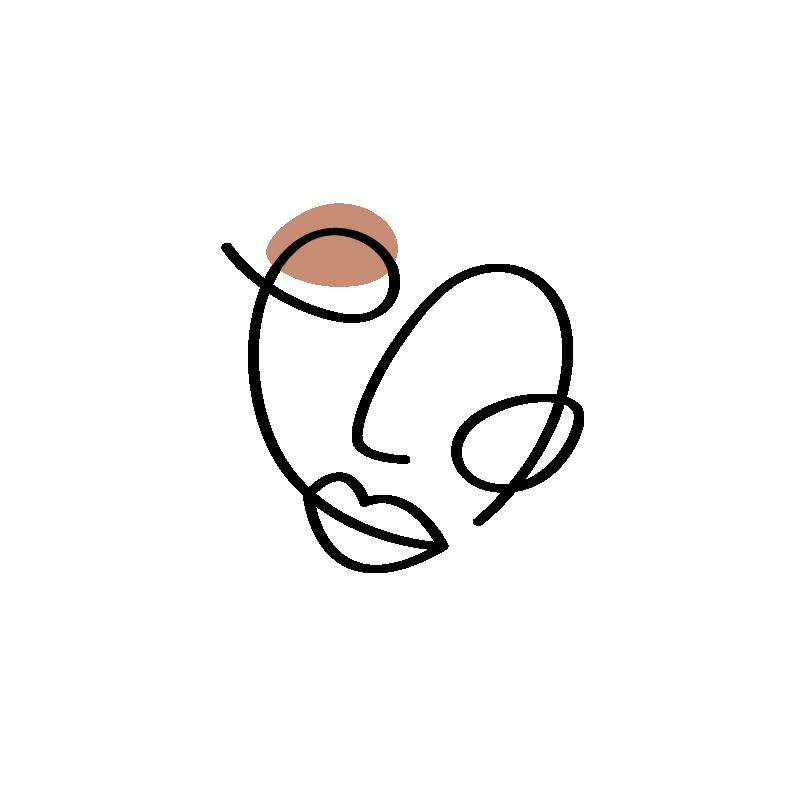
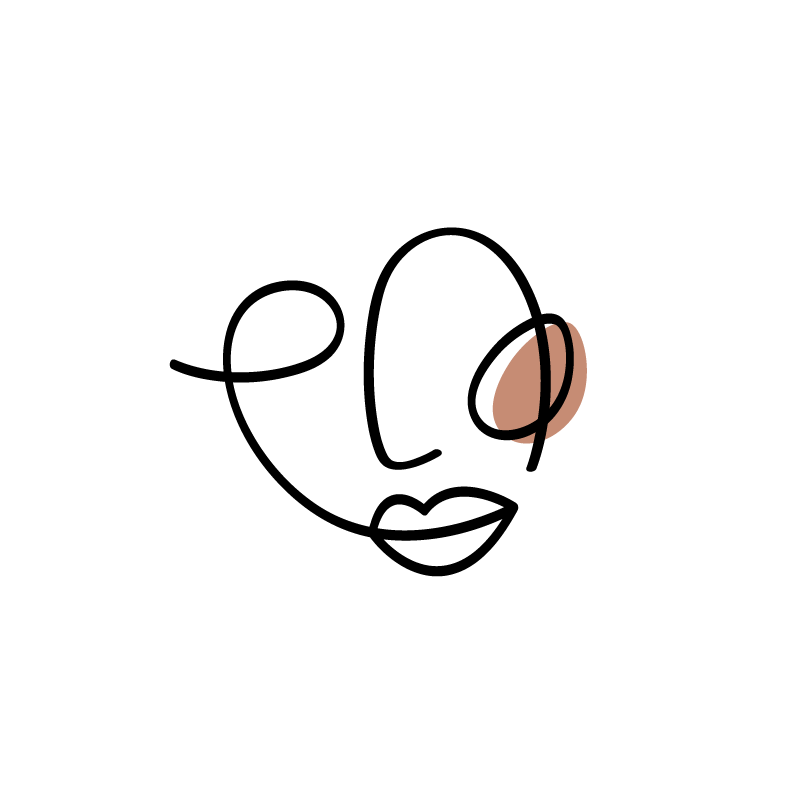
- The High Orbital Bone: This is the area just above your cheekbones, extending toward your temples.
- The Bridge of the Nose: A thin, precise line of light here creates instant structure.
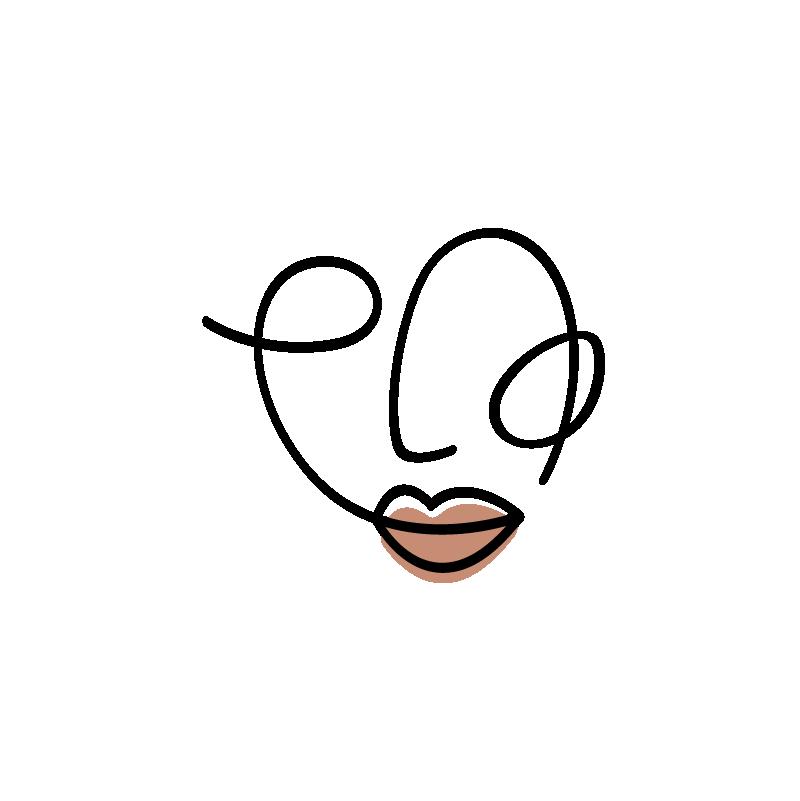
- The Cupid’s Bow: Highlighting the peak of your lips provides a subtle, sexy lift.
- The Inner Corner: This opens the gaze and provides that "CEO Gaze" we love.
When you use an illuminator, you are essentially telling the world’s light where to focus. This creates a natural "lift" without the need for heavy, brown pigments that can look muddy in person.
Step 3: Texture is Everything
To achieve that "Vogue" finish, you must be obsessed with texture. The goal is "Zero Texture Artistry." If you use a product with chunky glitter, the illusion is broken. You want a sheen, a glow, a reflection: never a sparkle.
We suggest using cream or liquid formulas for this technique. They melt into the face and become one with your skin. If you’re having difficulty getting a seamless blend, you can also mix a drop of liquid illuminator directly into your foundation. This provides an all-over editorial radiance that you can then "stack" with more precise placement.
Step 4: The Soft Contrast
While we are moving away from 2016-style contouring, we aren't abandoning contrast altogether. We just prefer it to be "whispered" rather than "screamed."
Instead of a dark cool-toned contour stick, we use a shade that is only half a tone deeper than your skin to very lightly anchor the jawline. This "micro-shading" provides just enough structure to support the light we’ve added. Always blend upward. We never blend downward into the neck, as this destroys the "lifted" effect we’ve worked so hard to create.
This creates a look that is sophisticated and cool. It’s the difference between looking like you’ve spent hours in front of a mirror and looking like you simply woke up with world-class bone structure.
Step 5: The Finishing Touch
The final step is the "Silent Statement." It’s the confidence that comes from knowing your skin looks like skin. We always recommend a final sweep with a clean, fluffy brush to ensure there are no harsh edges.
Remember, the "New Bone Structure" is about movement. When you turn your head, the light should catch your cheekbones in a way that feels dynamic and alive. It’s a sexy, sophisticated approach to beauty that doesn't rely on gimmicks or "bundles" of unnecessary products.
Why This is the New Luxury Standard
The move toward sculpting with light is more than just a trend; it’s an evolution in how we view ourselves. Heavy contouring was about correction: trying to change the shape of the face. Sculpting with light is about enhancement: celebrating the architecture you already have.
It’s empowering to step into the light and let your natural features take center stage. At V Kosmetik, we believe that professional-grade artistry should be accessible to every woman who wants to command her space. Whether you’re in the boardroom or at a black-tie event, this editorial glow ensures you are the most radiant person in the room.
We always recommend practicing your light placement in natural daylight first. This allows you to see exactly how the products interact with the planes of your face. Once you master the "Architectural Glow," you’ll never want to go back to the shadows of 2016.
Your New Daily Ritual
We want you to experiment. Try placing your illuminator in places you never thought to: like the center of your eyelid or the very tip of your chin. See how it changes the way light dances across your skin.
Beauty is an art, and you are the canvas. Like Carrière, use light to reveal your inner vitality and charisma. It’s time to stop hiding behind the bronze and start stepping into the glow.
Stay empowered, stay glowing, and always lead with light. 🖤


